Usually you would need a public IPv4 IP to remote into your home network which can be expensive or sometimes not even possible with some ISPs like JIO Fiber.
There are two main ways you can remote into your home server despite the limitations that the ISPs have placed on us.
Tunnel Services
This is the simplest way to gain remote access to your home services, the best known services for this is Tailscale and Cloudflare Tunnels.
But in both cases you will be relying on the proxy servers that these companies are hosting for you, therefore you will have to stick to their terms of use.
Be aware about hosting a public/private media server like jellyfin through cloudflare as this goes against their TOS and your account could be banned.
A bit more independent way of remote access would be public IP.
JIO does not provide us with a IPv4 public IP but they do provide an IPv6 Public IP address.
IPv6 “Port forwarding”
In terms of ipv6 there is no such need to port forward due to the nature of ipv6, but you still need to setup your router firewall to allow inbound requests to your device.
Finding your IPv6 addr
On ubuntu server you can run: ip a s
And the output should look something like:
raj@pimon:~$ ip a s
1: lo: <LOOPBACK,UP,LOWER_UP> mtu 65536 qdisc noqueue state UNKNOWN group default qlen 1000
    link/loopback 00:00:00:00:00:00 brd 00:00:00:00:00:00
    inet 127.0.0.1/8 scope host lo
       valid_lft forever preferred_lft forever
    inet6 ::1/128 scope host
       valid_lft forever preferred_lft forever
2: enp0s31f6: <BROADCAST,MULTICAST,UP,LOWER_UP> mtu 1500 qdisc fq_codel state UP group default qlen 1000
    link/ether 64:00:6a:85:05:91 brd ff:ff:ff:ff:ff:ff
    inet 192.168.29.85/24 brd 192.168.29.255 scope global enp0s31f6
       valid_lft forever preferred_lft forever
    inet6 2405:201:d005:c220:6600:7aff:fe85:571/64 scope global dynamic mngtmpaddr noprefixroute
       valid_lft 4543sec preferred_lft 4543sec
    inet6 fe80::6600:7aff:fe85:571/64 scope link
       valid_lft forever preferred_lft forever
2405:201:d005:c220:6600:7aff:fe85:571 This is what your public IPv6 addr will look like.
Once you have this you can now access your machine using this IP locally in the format that looks like: http://[2405:201:d005:c220:6600:7aff:fe85:571]:8080
But your router is still going to block all incoming requests to all your device IPs.
Router Setup
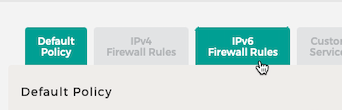
On your jio router gateway (usually 192.168.29.1 or 192.168.0.1 for jio) login and go to Security > Firewall from the left Navbar.
Go to the IPv6 Firewall rules tab.
Here you can see a rule that already exists that allows all outbound traffic.
You can also add inbound rules that allow all inbound traffic to one or all of your devices.
It is recommended that you select a single destination IP address and add the one thats of the device you want to expose.
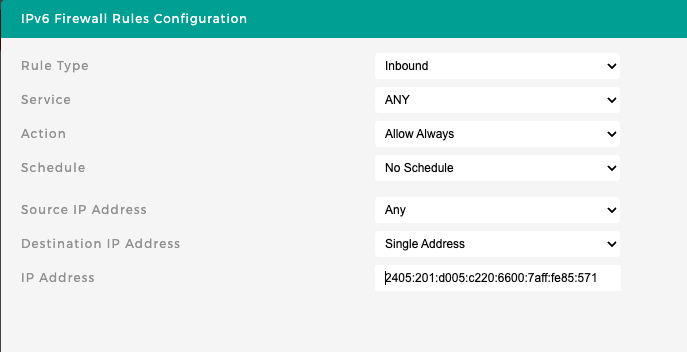
Once you save this you can now access your server from almost anywhere.
This access is most reliable when accessed from other devices that are on networks that support ipv6, your college or office wifi may only support ipv4 and therefore you may not be able to access it from there.
If you want to still access this from a ipv4 network you can buy a domain on cloudflare or move any existing one to it and use cloudflare’s proxy that proxies it through ipv4, this can be good but you will again be limited by their proxy that by default allows only http traffic, so you can forget about remote ssh or rtsp.
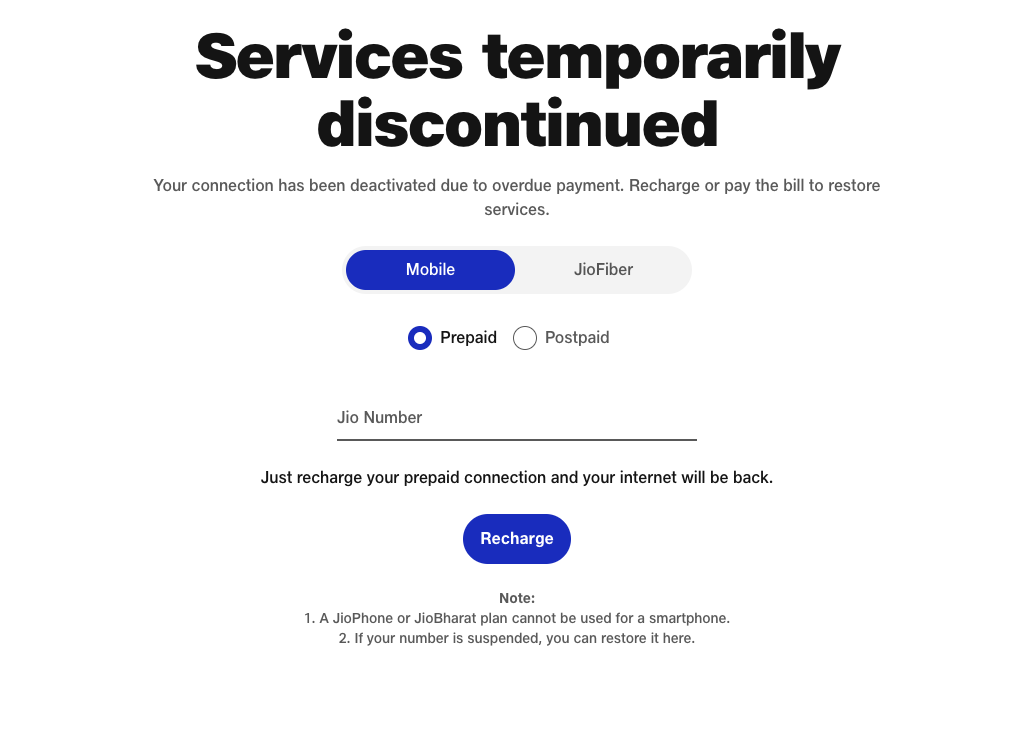
Also some plans don’t support this on jio side, so you maybe redirected to:
https://www.jio.com/BalanceExhaust
Conclusion
For simple use-cases like needing to access cockpit instance remotely Cloudflare tunnels is simple and just works for anything public http traffic and has options to access vnc and ssh through their client app warp or cloudflared which are simple to setup but not as simple as Tailscale.
Tailscale supports all kinds of traffic similar to Cloudflare warp setup but is significantly simpler to setup.
For simple and reliable setup you will have to use Cloudflare or Tailscale for now, there are paid alternatives too that are more private like getting a VPS and hosting Wiregruad that will basically act as your public reverse proxy, this will allow you to host any traffic with no TOS worry but could cost you a based on usage.